Ombre Nation

January 30, 2015

As many of you know, I ombred my own hair last summer (did I just make a up a verb? I think I did) when my stylist didn’t do it as heavily as I wanted. I did it in two sessions – a week apart to make sure I got the right amount of blonde until I was happy with it. It was wonderful for the summer – it definitely provided that “I live at the beach” sun-kissed look and people were shocked when I said I did it myself. But at my last haircut several inches were cut off, cutting off some of the lightest blonde shade and now I’m just kind of “eh” about my hair and color. It could be that its winter and everything is boring. It could be that I’m growing out my bangs for my wedding and need something to me excited about my hair while it does (as I can’t cut it off). At any rate, after some time well spent scouring the many pages of Pinterest, I’m kind of falling in love with a sombre (subtle ombre) brown-reddish look going on. See below.

Long red waves

Yes, I know my hair isn’t this long. How beautiful is this color though?

Long brown waves

This has some blonde in here (which I’m not opposed to).

red and gold

So pretty.

For this color change, I’m going to seek the experience of a hair professional although I am really proud of myself for doing my own for less than $15 the first time around. For those of you are interested in trying your hand at blonde at-home ombre, below is the product I used (it comes in three different color options) and a picture of the technique I used.

Loreal

Blonde DIY

Here’s how it turned out (note, it does not come with a handsome bald man 😉

MJEng_43_FatOrangeCat-WEB

Are you going to ombre?

XOXO

Maureen

All I wanted for Christmas is to be beautiful!

December 28, 2014

Good evening and welcome back from the holidays! I admit I have been lacking on the blog posts in the past month or so with the hustle of the holidays but I am back and resolve this year to publish more posts on the regular so stick with me. Besides whipping up some home-made body scrubs for some ladies, here are some beauty treats I gave and received on Christmas.

To my darling mother I gave my most recent mascara purchase which she test drove at Thanksgiving ( I apologize for not blogging about this stuff – its pretty amazing stuff). It is by a cosmetics company called Younique and the product is called Moodstruck. Its almost exactly like Too Faced Better than False Lashes (a step mascara with fibers) except the fibers in Moodstruck are black, not white and the effect is much more “pow”. If you decide to purchase you just have to choose a salesperson (pick anyone at random) to give the commission to.

Moodstruck

For my soon to be mother in law (by the way the six month count down began yesterday!) I was asked to put together a box of cosmetics, which I did very happily! Some items included Too Faced Better than Sex mascara, mascara guide, Garnier BB Cream, ELF Lip colors, brushes as well as the Bare Minerals eye shadow and cheek pallette below. I can’t wait until she uses it!

72518-0

Lastly, I was a lucky lady this year and received some Bobbi Brown treats as well as some Essie polishes. Recently I saw Bobbi’s email for red lips and decided to really go for it so I asked Kathy for lip liner, lipstick and gloss all in scarlet and all made their way to my stocking. I also received two surprise Essie nail polishes from my future mother in law on Christmas Eve. I can’t wait to try them all out- see below.

IMG_1344

What beauty treats did you give and receive?

Maureen

Beauty and Storage… my two favorite things!

November 30, 2014

Recently I was asked  to write a blog post about how I organize my makeup and boy was I excited. Just as much as I love beauty products, I equally love organizing them. There are two ways you can store your beauty loot – covered/tucked away and showing them off at all times. For those that know me I’m sure you’re not surprised that I love option number two. It’s not that I’m showing them off really, but more happily gazing at my collection of mascaras, eye shadows, blushes and nail polishes and how they are  neatly displayed. I find that this option is right for me because it not only makes me happy but it allows me to keep inventory of products that I own so that they do not go unused (you know what I’m talking about – “oh, heyyy, I remember this lipstick from a year ago!”). I really like the acrylic organizers that you can purchase online or in stores like TJMaxx, Target or Marshalls. I actually got my collection at a combination of The Christmas Tree Shops as well as ideel.com but you can find similar ones online. I like these because they provide a lot of different storage options depending on how much beauty merchandise you need to organize, the type and how you need to see it (some have drawers, while others swivel).

Below are pictures of my beauty organized (forgive the picture quality). As you can see I like everything in its place and I also like to see everything clearly. While I could not find the exact ones online you can click below to the links I provided for you to get an idea of what works for you.

IMG_1289 IMG_1288 IMG_1287

This isn’t beauty but I had been searching for a jewelry organizer to display my bracelets, earrings and rings in an organized fashion and am so excited I finally found this. Doesn’t it look like a store display? Everyday I feel like I’m shopping… my own jewelry!

Target

Bed Bath and Beyond

Not into displaying all you have? Or maybe you have less space than you would like and need to have your beauty stored away. No problem. When I travel, I take my necessitates into one bag without any pockets so that I don’t miss anything. How cute are these ones below?

34502242202745p15010172

And for those that are experts, check out the one below!

13514452

How do you like to organize your beauty stash?

Maureen

Makeup Essentials for Travel

November 25, 2014

Traveling this holiday season? Me too. I was asked today to publish a post on what essentials I was bringing on my holiday getaway as some of you might be flying or driving in the next few days and can’t bring your entire beauty bag with you. So what should you bring and what should you leave home? Here’s what does and doesn’t make the list for me!

Bring Along

Tinted Moisturizer/BB Cream/Foundation – whatever your preference in skin enhancement, bring it with you. It doesn’t matter if I have great eyeshadow or lipstick on for me if I don’t have my skin covered first.

Concealer – I use mine daily as an under eye corrector and for any imperfections that might arise.

Bronzer (if you use one) – I also use this daily so for me not to wear it would make me feel…well not right.

Blush – here is where I would choose a cream color and use it as a multi-tasker as a lip color as well. My favorites are Bobbi Brown and Josie Maran – I actually keep them in my purse all the time.

Eyeshadow – pair this way down if you can. I would stick with neutrals that you are going to wear every day/night and get the most use out of. I would choose a vanilla and a cocoa color as your take alongs. Bonus – bring a flat brush and use the cocoa as your eyeliner.

Mascara – bring whatever you would normally wear but pair down to just one (or two if you’re like me).

Gloss – if you chose a powder blush instead of a cream, make sure you pack a gloss you feel good about wearing everyday. I would stick with a pink or soft brown. Reds are really fun for holiday but if you’re not going to wear it everyday this weekend, leave it home.

Dry Shampoo – depending on how many days you will be away from home you may not have time everyday to wash and do your hair full out everyday. I would bring along some dry shampoo just in case.

Coconut Oil – if you don’t have any right now, go out and buy some before you leave. I love this stuff! I use it as my body moisturizer as well as many other things. I rub into my cuticles before I go to bed, use it as lip balm and use on my eyebrows to keep them in place. You can also use it on the ends of your hair to keep your style in place and flyaways down. Girls with longer and finer hair should go easy (remember this is oil) but girls with thicker or a short hairstyle can load up a little bit more. It can also be used as a gentle eye makeup remover. Bonus – if you purchase the organic, unrefined kind it smells amazing.

Leave Home

Highlighters – these are so flattering but will take up room in your bag. My advice? Bring a vanilla sheen as your vanilla shadow above and work it as double duty.

Fun lip colors – I always end up bringing way too much and only use one that is in my purse. Choose one staple that you can wear all weekend and keep it natural.

Loose eye shadows – besides the two I suggested above, I would avoid bringing any more. If your shadows are in a palette, go ahead and feel free to bring that. Remember  if you’re away visiting family, you’re probably not going to have a ton of time to try new makeup tricks or colors, so stick to the basics and tried and true colors that you know work for you.

Nail polish – do it before you leave or let them be natural. I would avoid bringing any color along. Better yet – go get your nails done with the women in your family as a girls’ day date!

Remember – when you’re deciding what to bring ask yourself this “Am I REALLY going to use this in the next few days?” If the answer is I don’t know, leave it home. You probably won’t miss it.

What are your traveling beauty essentials?

Maureen

My Favorite Brands…Essie nail polish

November 19, 2014

In my third installment of my favorite brands post series I wanted to write about my absolute favorite nail polish brand of all time – Essie! Many of you know in the world of nail polish there are two major brands (among many others) and they would be O.P.I. and Essie. In college I was an O.P.I. devotee. And then something changed – I’m not sure when or why but I switched completely to Essie forever.

As you may remember me saying I was a former marketing major in college, let’s first start with brand’s image and why I love it. The marketing is fantastic – Essie ads are written with a short quote from Essie herself (how cute is the name Essie by the way?) and the ad is always clean and crisp with the focus on the nail color that practically pops off the page. The brand’s ads use white backgrounds featuring white props such as a marshmallow or ice cream with the nail color dripping over it. See below for examples – how great are these?

Summer Ad           Wicked Ad

The packaging is adorable too. If you know me well you know I have a weird love of organized shapes (I love cars with shapes). Something about these little perfectly square bottles with the clear writing and clean white top makes me happy. Its simple and lets the color do the talking. And now let’s talk about my favorites!

Ballet Slippers

Ballet Slippers – this is a staple among the beauty industry as one of the best pastel pinks out there. Not too pinky, not too beige.

Mademoiselle

Mademoiselle – another staple. This is a sheer pink that is one step above having nothing on. It almost is like nail foundation for those with pink nail beds.

Vanity Fairest

Vanity Fairest – similar to Ballet Slippers but has a the teeniest hint of sparkle.

Cocktails and Coconuts

Cocktails and Coconuts – a great beige matte for toes

Fishnet Stockings

Fishnet Stockings– classic red with a blue color base. Gorgeous on short nails.

Sunday Funday

Sunday Funday – coral with a little sparkle – I love this shade in the summer!

Under the Twilight

Under the Twilight– an inky blue purple – I LOVE this on short nails and always get asked what this is when I wear it.

Merino Cool

Merino Cool – my newest favorite from my fabulous friend Emily- a light grey purple

Now that Essie is EVERYWHERE you don’t have to travel very far anymore to get them but if you want to order them for cheaper than their regular retail sign up for the flash sale site Cut and Blow – they are $5, which is completely worth it if you buy more than two. Another place to check out for cheap Essie’s? Off-price stores like Ocean State Job Lot, TJ Maxx and Marshalls.

What’s your favorite Essie?

XOXO

Maureen

My Favorite Brands….Garnier

November 12, 2014

In keeping with the blog series about my favorite brands here is yet another brand I love and noticeably cheaper than the last. I have given a lot of different Garnier products a try and I have yet to be disappointed. Some items I tried out on my own out of need and some I had read great reviews on. Unlike my last post about Bobbi Brown, I don’t have an emotional tie to this brand and have no colorful story for you – I just plain like the products! So lets get down to business and I’ll tell you what I use on the regular from this great drugstore brand.

Face:

Moisture Rescue GelP0074_thumb

Moisture Rescue Gel/Cream – this stuff is amazing! It is so refreshing and hydrating and best of all it oil free. I started using this two years ago when it first came out in the summer and discovered how great it was. In the cooler air I just switched to the dry formula for a little extra moisture and like it as well. It has the same feel as the original and the same refreshing feel when you put it on.

P0241_thumb

Ultra-Lift Anti-Wrinkle Eye Cream – this is a great eye cream and is refreshing as well. Its very inexpensive and just a dab on the under eyes and outside of eyes (where crows feet live) does the job! I put on twice a day, morning and night.

P0005_thumb

Oil Control BB Cream – this is great if you don’t have time for a face full of foundation and want more coverage than a tinted moisturizer. Now the brand has not one, but three different shades of each BB formula (there are currently three – Miracleblur, Oil Control and Anti-Aging) for even more skin matching goodness.

P0257_thumb

BB Dark Circle Correcting Eye Cream – I also use the BB Eye Cream when I use the BB Cream shown above. It has a silver rolling ball that has a really cool, refreshing feel when it is applied to the skin.

Hair:

Garnier Nutrisse Hair Color

Recently I tried using Garnier’s hair color and loved it! Its the first at-home hair color that comes with grape seed oil to put right in the formula. This means more moisture and softer and shinier hair.

Shampoos and Conditioners – I have used the Color Shield and Damage Eraser hair collections and recommend both of them. They give my strands a soft, silky feel. Below are the ones I have used but click the images to explore what products are right for your hair.

P0023_thumbP0042_thumb

Which Garnier products do you love?

Maureen

My Favorite Brands… Bobbi Brown

November 9, 2014

I originally was going to write one post about my four favorite brands but I decided I wanted to keep each one separate in order to give each one the attention it deserves (as well as keep you in suspense!) Also, that would be a really long blog post and I don’t want to do that to any of you. So here goes – let’s begin this blog series with the Queen – BB, B Squared, Bobbi, whatever you want to call her, she is Bobbi Brown.

Where.To.Start. When I was 23 entering my second job (with the first being HORRIBLE) I had a wonderful boss who was stylish, hilarious and quirky. Not to mention obsessed with Bobbi Brown. I admired this woman and she was a wonderful mentor for me as I started my career in corporate retail. I don’t remember how she got me started with Bobbi Brown but she was definitely the influence. At 23 I was making pennies but I remember managing to purchase a product here and a product there and at Christmas and my birthdays she would buy me Bobbi treats so I could add to my growing collection. Slowly I started reading more about Bobbi myself and becoming a fan on my own, not just because my manager was.

Why I love the line: In two words – polished and pretty. Bobbi comes out with new products each season obviously just like the other cosmetic lines but her brand and face remains true not trendy and I think that’s what I most admire. The Bobbi face is clean, classic but modern, and can never be accused of trashy or overdone. Even her packaging is classic – I love the black with the thin white writing – still do this day when I see a woman pulling out a Bobbi product I immediately think she is smart for choosing Bobbi.

As I started getting older I started getting my mother into Bobbi as well and little by little she also became a convert. Now besides a suggested mascara from myself or her staple Lancome lipstick, she only wears Bobbi. See below for her makeup drawer – (I got my father to sneak a couple of pictures for this post). Seriously – how amazing is that drawer full of Bobbi? When I come visit I’m like a kid in a candy store. I too have my own Bobbi collection (obviously as I’m writing this post about her) and my mother is very generous in treating me at Christmas to beautiful pallets of eye shadow and lip color as well as as the ever popular Beach perfume and lotion.

BB

Yes, she’s pricey but yes she is worth it. You will have these products forever and the colors never go out of style. These are like classic investment pieces for your wardrobe – you only need a few to really change up your look. Be careful though – you too will become a convert. Thinking of trying Bobbi out? Here are some of my favorite picks that she is known for:


Shimmer Brick – comes in a handful of color ranges but this is the bronze. You use this for highlighting your upper cheeks, forehead and bridge of nose. Oh and bonus? You can use all those colors as eye shadows!

bb_prod_E1F6_290x315_0


Bronzer – yep, I just plopped $40 down about a month ago for this but you know what? This is only the second one I have ever bought and its the best bronzer I have ever used. Its so natural looking, not muddy and blends well.

BB Bronzer


Long-wear cream eye shadow – this came out years ago and started the cream shadow craze. Its absolutely gorgeous on and the best part is there is no shadow fall like you get from powder shadow.

BB Eye Shadow


Long-wear gel eyeliner – yep she started this craze too. Apply with a brush to create a beautiful line and make it either dramatic or soft.

BB Eye liner


Rouge pot for lips and cheeks – I used this on my friend when I did her makeup for her wedding and ended up using it on her mother as well as myself. Such a great product and very versatile.

BB Rouge Pot

Ok these are it for now but really every Bobbi Brown product is beautiful – there are really too many to list individually. And don’t even get me started on how beautiful her new Scotch on the Rocks collection is – I want all of it (Kathy, I hope you’re reading this – Christmas is coming- just saying 😉

XOXO

Maureen

Cleaning your brushes and tools

November 5, 2014

I was not feeling well this evening so I decided to take advantage of some down time and give my brushes and tools a good cleaning. How often and how much is really dependent on how much you use your products but if you’re using them regularly you should think about doing it weekly or bi-weekly. It might seem like a lot, but remember these things are touching your face over and over again and trap bacteria, dust and dirt. You don’t want that on your face, do you? Me either. So let’s get down to it.

Make sure you have all your brushes and tools ready before cleaning. Put a dry towel or a few paper towels down flat next to your sink where your brushes can be left and dried after washing. You want to wash your brushes with a gentle soap and ones specifically made for cleaning are the best. You can find them anywhere now – I have one from Sephora that has lasted forever but you can buy ones at the drugstore or specialty makeup store. If worse comes to worse you can also use Johnson & Johnson Baby Shampoo as its gentle (and cheap!). Take your first brush, put it under running warm water and then put a little bit of soap on the brush. I then rub the brush on the back of my hand until I can see all the makeup coming out. I repeat this as well as run under warm water again until the water is clear. I give the brush’s hair a gentle squeeze and then lay it flat on the towel to dry. I fan out the brush strands so that they are not clumped together. Repeat with all your brushes and tools. Make sure you’re drying in an open, dry area. I would avoid the bathroom if its warm and damp in there.  It can take a few hours to have those babies dry so I like it do it overnight so I can use them in the morning. Below is the link to the Sephora product I use as well as a picture of my brushes drying.

There is also a spray that you can purchase from Sephora called a Daily Makeup Brush Cleanser. I would use this for items like eyeliner brushes and eye shadow brushes because if you leave that kind of product on, it will make the brush almost not useable for the next time so it needs a quick removal of product even if its not a deep cleansing.

SEPHORA COLLECTION - Purifying Brush ShampooSEPHORA COLLECTION - Master Cleanse: Daily Brush Cleaner

Brushes

Happy Cleansing!

Maureen

The At-Home Mani (on the cheap!)

November 2, 2014

I love a good manicure and pedicure and I love the nail salon near our house in Newton, Massachusetts. It’s always nice to treat yourself to these often not only because  of the stress relief and beauty benefits but because you don’t want things like overgrown cuticles (which keep your nails healthy and prevent infection), callasuses, and in grown nails out of control. That said, time and financial reasons don’t always allow for us to do these regularly but with a little work you can do your own manicure at home. It might take a little practice if you’re just starting out but be patient and take your time. The more you do it, the better you will get-trust me.

Step 1: Soak hands. Soak both hands in a little bit of warm, soapy water for a few minutes. This gets your cuticles ready for grooming.

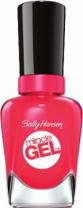
Step 2: Removing cuticles. Apply a cuticle remover (see link below for options from Sally Hansen) rub in to cuticles for a few seconds. Next, take a push back tool (this will be one of the most expensive items you will purchase in this post) and push back your cuticles. You have two types of cuticles, the ones you want to get rid of (the thin later right on your nail that you can hardly see) and the thicker part that you either leave or trim back in the next step.

Step 3: Trimming cuticles. This is up to you on how much you want to do here as you may not feel comfortable trimming your cuticles and hang nails. If you do feel comfortable, you want to purchase cuticle scissors and I suggest not purchasing cheap ones and go with some by Revlon. You will have these forever and they really make a difference. Cheaper ones are dull which makes it more difficult to snip and get a clean line. Make sure these are clean before you use and gently trim your outer cuticles, hang nails and excess skin. My fiance could tell you this is one of my favorite tools- I’m often snipping away at random hang nails as any excess drives me crazy. Remember to clean your metal and stainless steel tools with soap and really hot water you are done with everything. Repeat Step 2 and 3 on the other side once completed.

Step 4: Oil up. Next rub some nail oil into your nails and cuticles. If you don’t have any at home you can use olive,  coconut or grape seed oil instead. You just need a few drops, so go easy.

Step 5: Filing nails. Your shape is up to you but I usually do something  in the squoval (combination of square and oval) range so they are not super severe either way. You don’t need an expensive or heavy-duty nail file (unless you have artificial nails) so your best bet is to get the cheap, tan cardboard kind that are sold in the drug store. These are gentler on your nails than other files. If you don’t want to use these make sure you pick a file that says its specific for natural nails or else you will file down your nails until there is nothing very easily.

Step 6: Buffing nails. This is your choice as the shinier the nail, the harder it is for nail polish to adhere to the natural nail but I enjoy doing this because it gets ride of ridges and smooths out the nail bed. I use buffers that are four-sided and have numbers on each side so you know which step to do in which order.

Step 6: Exfoliation (optional). This is not necessary but its nice step that adds a little luxury to your standard manicure. Don’t have an exfoliating rub? No problem. Mix 2 tablespoons of either sugar or salt with a little bit of oil (again your choice) and rub over your hands, wrists and lower arms. Rinse under warm water and pat dry.

Step 7: Moisturize. You can use any lotion you like. Make sure you rub into nails and into cuticles. After, take a cotton round and wipe nails off with nail polish remove (preferably acetone free since acetone can dry our your nails and skin).

Step 8: Prep. This is not mandatory but its a nice step and if you are using a dark or bright color you should make sure to include this into your manicure regimen. If not, when you go to remove your color days or a week later your nails will be stained and most likely a dark pink. Choose your base coat by your need: trying to grow your nails? Choose a growth treatment. Weak nail problems? Choose a formula with strength. When all else fails just choose clear since something is better than nothing. Often times this is where my manicure will end since just having groomed nails and cuticles is good enough for me. If I have the extra time and patience I will continue on to the steps below for color.

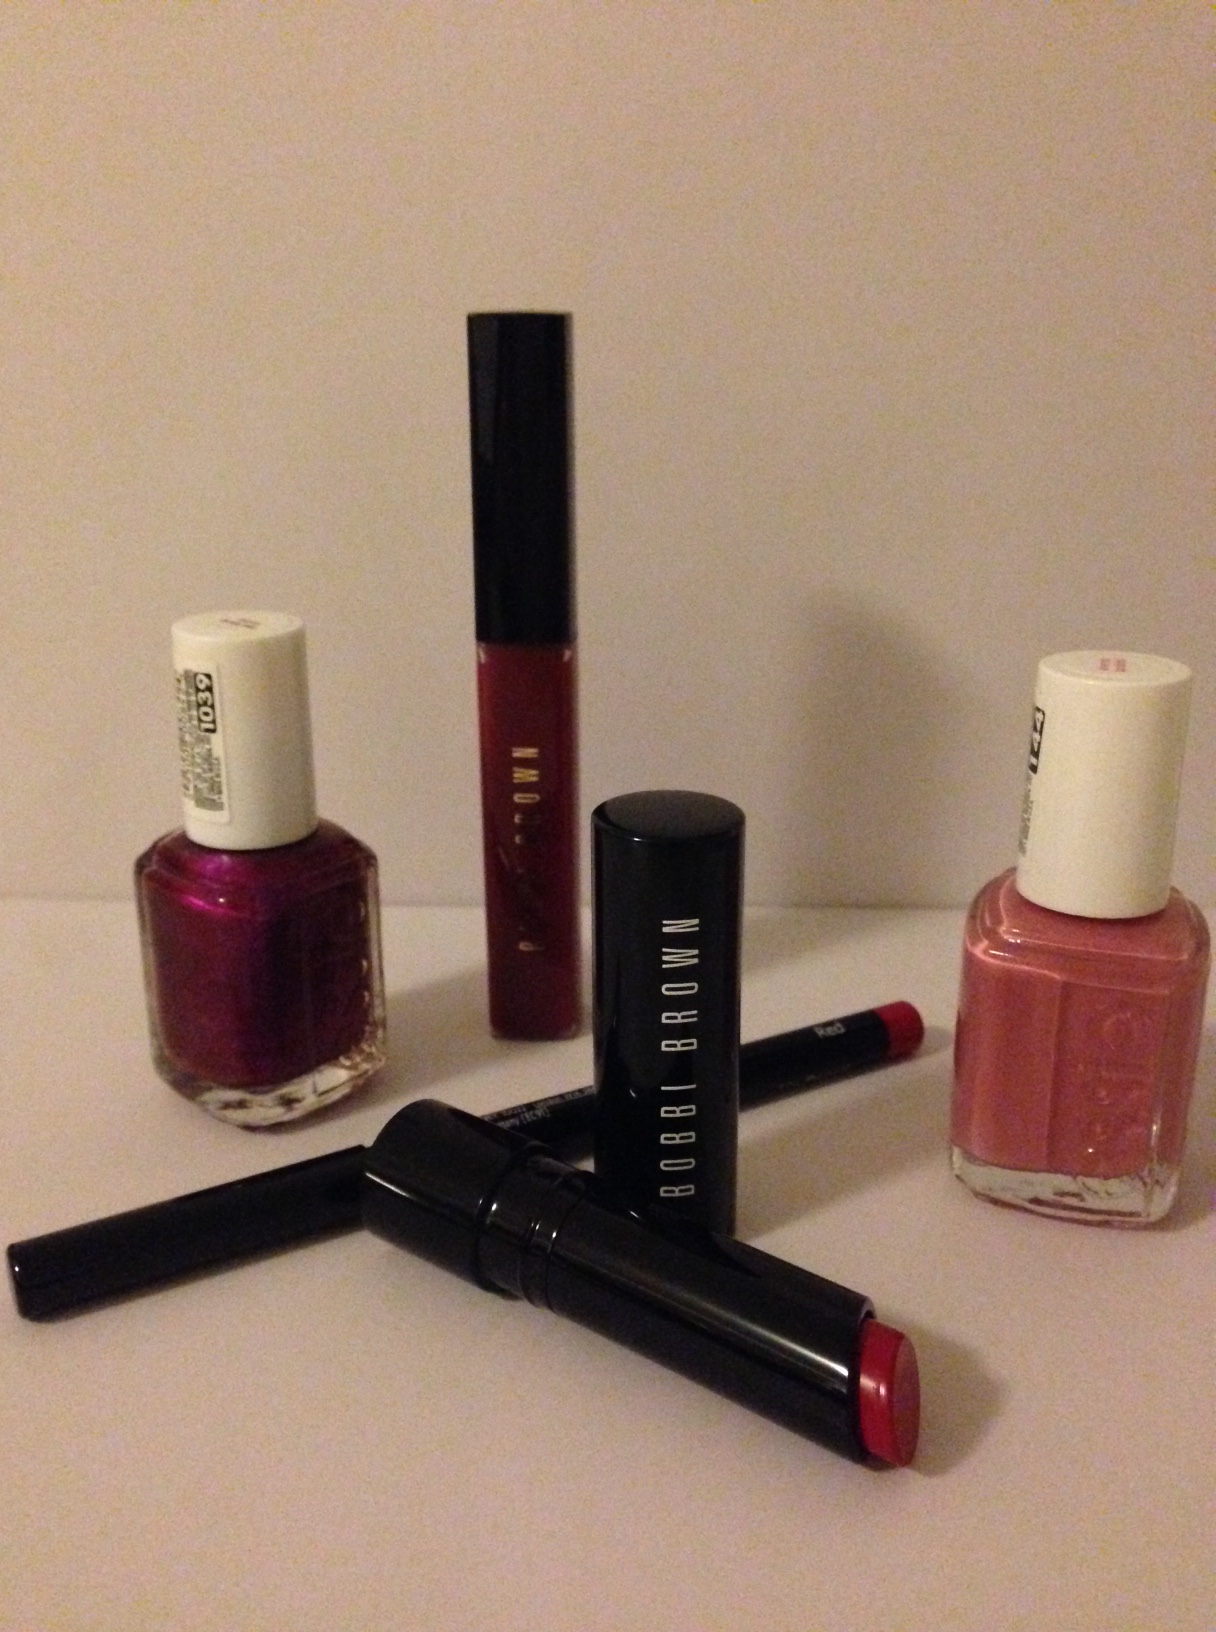
Step 9: Color. Choose your color. I love dark and bright colors on short nails and soft pinks  on nails with a little length. How many coats is up to you but the standard is two coats. Your application should be as follows: one stroke down the middle of the nail, and then one stock on each side. Nervous? Go lightly on the polish for the first coat since it sets the base for your color. You can always apply more color if needed.  Remove any excess polish that got on your skin with orange sticks from the drugstore (I LOVE these things). If you don’t get it perfect that’s ok. Remember that polish doesn’t stay on the skin for long, so it should come off in your shower or when you wash your hands.

My favorites colors? Essie’s Ballet Slippers, Mademoiselle, Vanity Fairest and Figi. I know, I know. All light pinks – notice a trend?

Step 10: Top coat. Any basic clear does the job but if you want the creme of the crop choose Seche Vite. It dries your nails quickly and deposits a glass-like shine. This is a must-have and really ups your manicure at home. Also, one bottle lasts forever.

Step 11: Wait! After all that work, wait it out at least a good 15 minutes. Watch tv, work on the computer (slowly) or just relax. A trick my mother (a former hairdresser who had to take manicure classes during beauty school) taught me to check if your nails are dry is to take your thumb and lightly rub it against the skin under your nose, above your lip. If the nail is ready and dry, there will be no stickiness and the nail will feel like glass against the skin. If it doesn’t, you need to wait a bit more.

Some of my favorite manicure must have tools:

Revlon Cuticle Nippers


Cuticle Pusher


Orange Sticks


Seche Vite


Enjoy!

Maureen

Product Review: Sally Hansen Miracle Gel formula

October 29, 2014

Well my friends, this will be my first unsatisfactory product review. I don’t like doing this and feel bad giving a product an unfavorable report but I want you to trust my opinion and in order for this to happen I must share with you the good and the bad. After all, I don’t want you spending your money on something that I don’t feel is worth it. And so I bring you Sally Hansen Miracle Gel formula. The product is made up of two separate nail polishes, a color and a clear top coat, which can be sold pre-packaged together in only a handful of colors (which in my opinion were awful choices) or separately with an array of 45 colors. The big to-do about this product is that it is the first at home gel nail product that does not involve the use of an LED light. This is huge for those of you who can do your own nails and love the gel formula. There are other gel formulas on the market for at home use, including two other formulas by Sally herself as well as other companies, but all involve the use of an LED lamp, which is an additional cost and can be pricey.

For those of you who are new to gel formula, the benefit of this type of nail polish application is both the staying power and the glossy finish. Oh and as soon as its applied, you can do anything with minimal waiting time. This is ideal for someone going on vacation or someone who used to like acrylic nails for the color staying power. It is important to note that it is not recommended to do gel nail polish applications back to back, especially since removal involves soaking of the nails in acetone polish remover, which is incredibly drying to both nails, skin and cuticles.

I was really excited to try this (actually really excited is QUITE the understatement). How excited was I? I am almost ashamed to tell you the lengths I went to get this but I will tell you because we are all friends here. I went to not one, but TWO local CVS stores to get it. The first surprisingly didn’t have it at all and the second only sold the top coat in the awful color prepackaged duo sets. So what did I do? I picked the color I wanted separately and looked up on my trusty iPhone if my local Target had the clear top coat in stock (side note if you ever want to see if Target has an item in stock before you travel there, their website has this feature- genius!). So I drive the ten extra minutes to Target, which I can’t stand because its constantly busy and never has parking. I talk myself twice into keep making the trek, get in the door, race over to the nail section only to find NO CLEAR TOPCOAT. Nothing. No colors at all! Did I let this stop me, you ask? Nope. I found a sales associate and told her my plight and waited until she came back out to tell me there was a box of 12 left and if I gave her a few minutes she would bring them out for me. You can imagine my giddiness. Finally, with it in my hand, I paid and rushed home to try this.

Maybe it was the build up of all the great reviews I had read about this product that has me disappointed. My trusty go-to source Allure Magazine had written several great web reviews on it and they have never steered me wrong. One review had given the product a fantastic rating, saying that it outlasted a salon gel application and never budged on the side of the nail. I do not agree. I think this nail polish is ok, not horrible, but not up to the hype and certainly not worth all the effort I put into purchasing it (but then maybe no beauty product is). I don’t find it any different than any regular nail polish application and I certainly don’t think its as glossy as a salon gel application. If you are looking to try an at home gel product and haven’t tried anything yet, I would say go ahead and try it since you don’t need an LED lamp but if you are looking to give up your monthly salon gel appointment for this product, don’t. If you are looking for just a new nail polish and top coat, you have nothing to lose as the price is the same as any of Sally’s, Essie’s or OPI’s nail polishes and it can be removed with regular remover. Bottom line: don’t go out of your way for this product- I already did for both of us 🙂

If you are interested in learning more about the product and where to buy it, click the image below.

Maureen